Jun 09, 2026
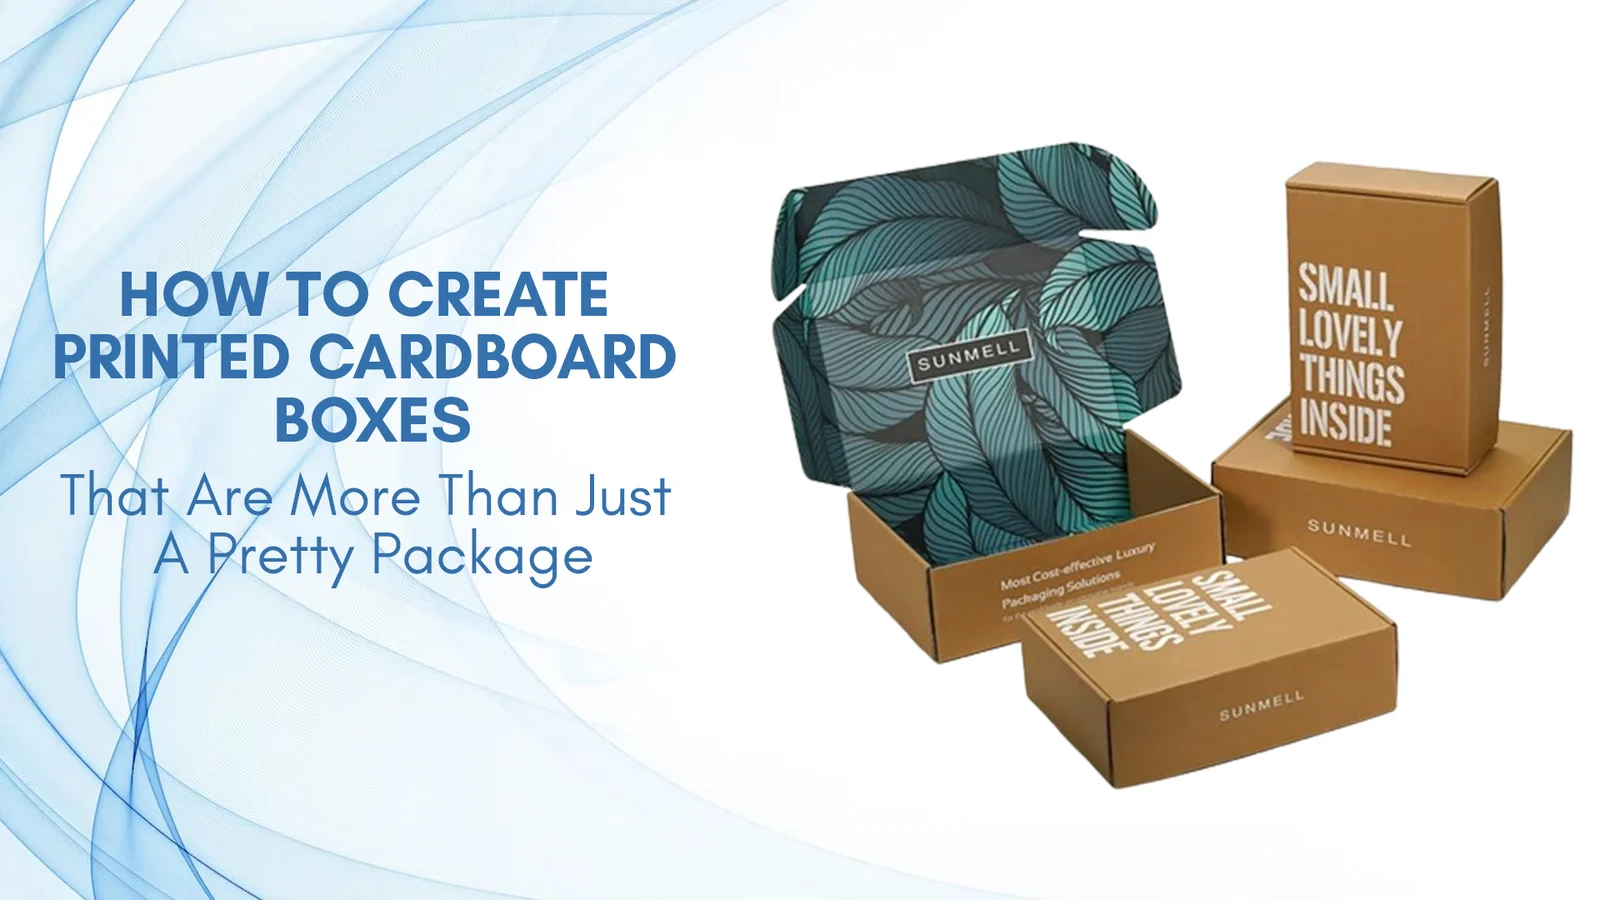
How to Create Printed Cardboard Boxes That Are More Than Just A Pretty Package
Read more
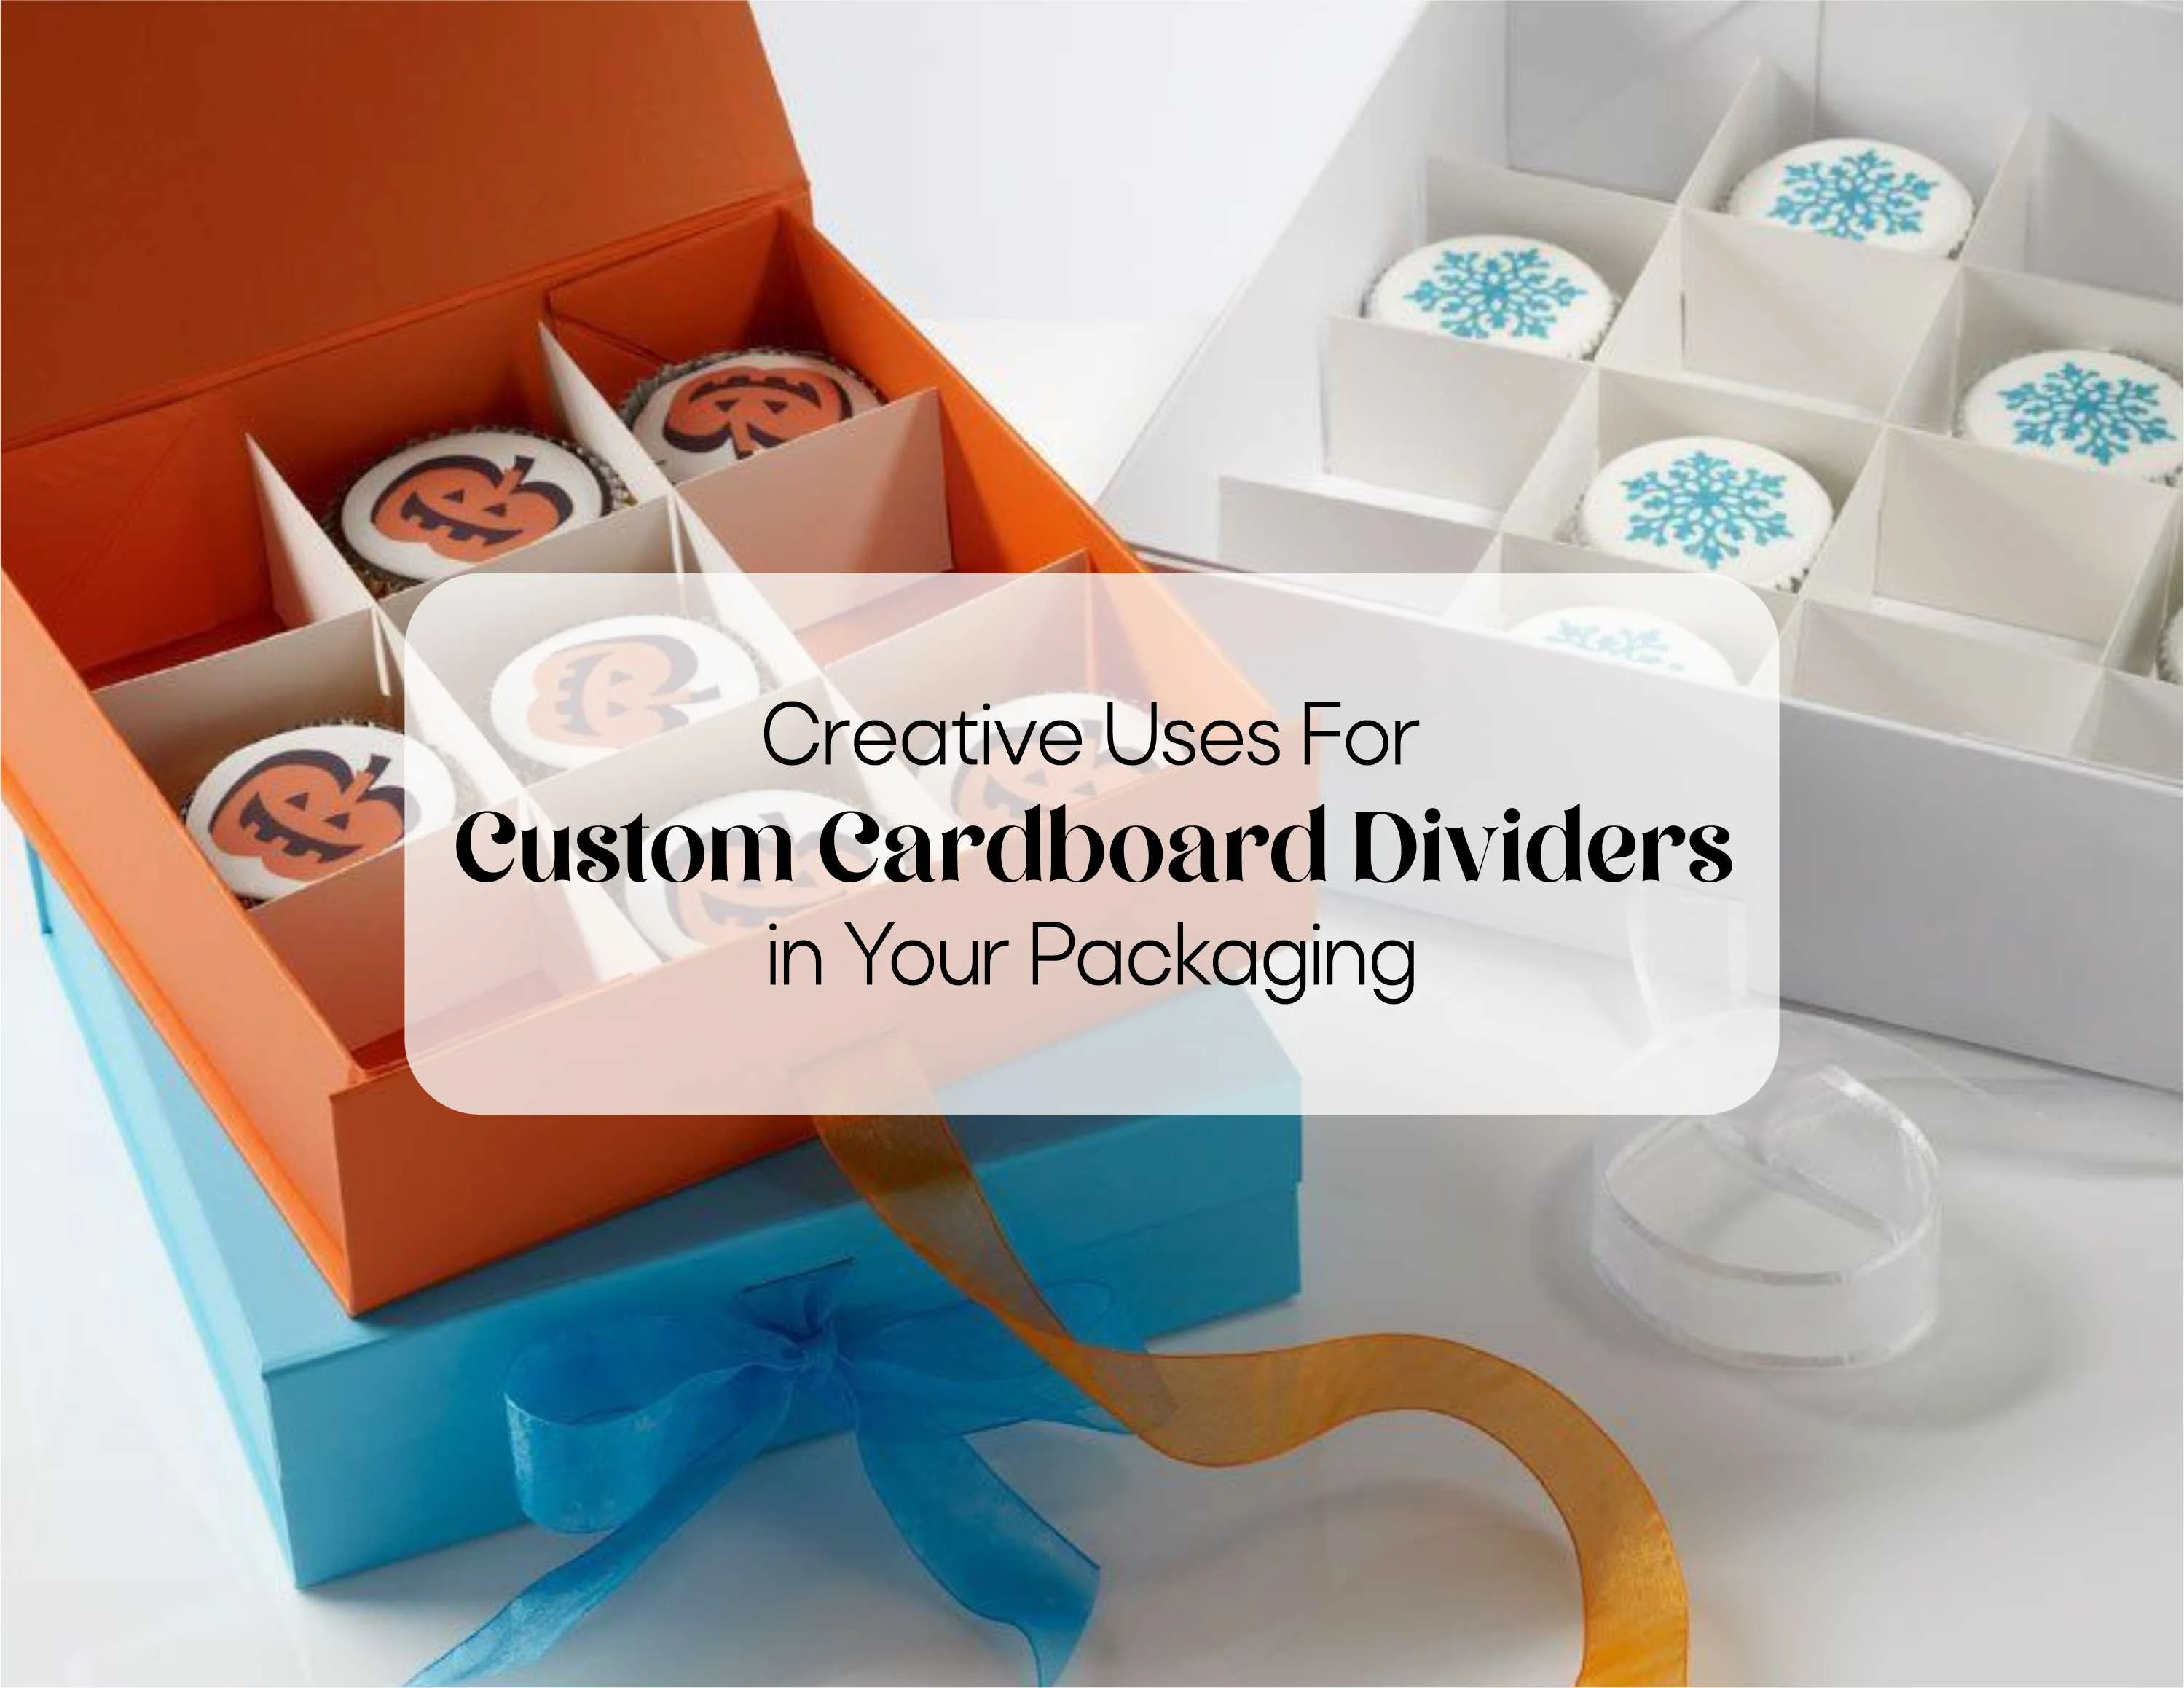
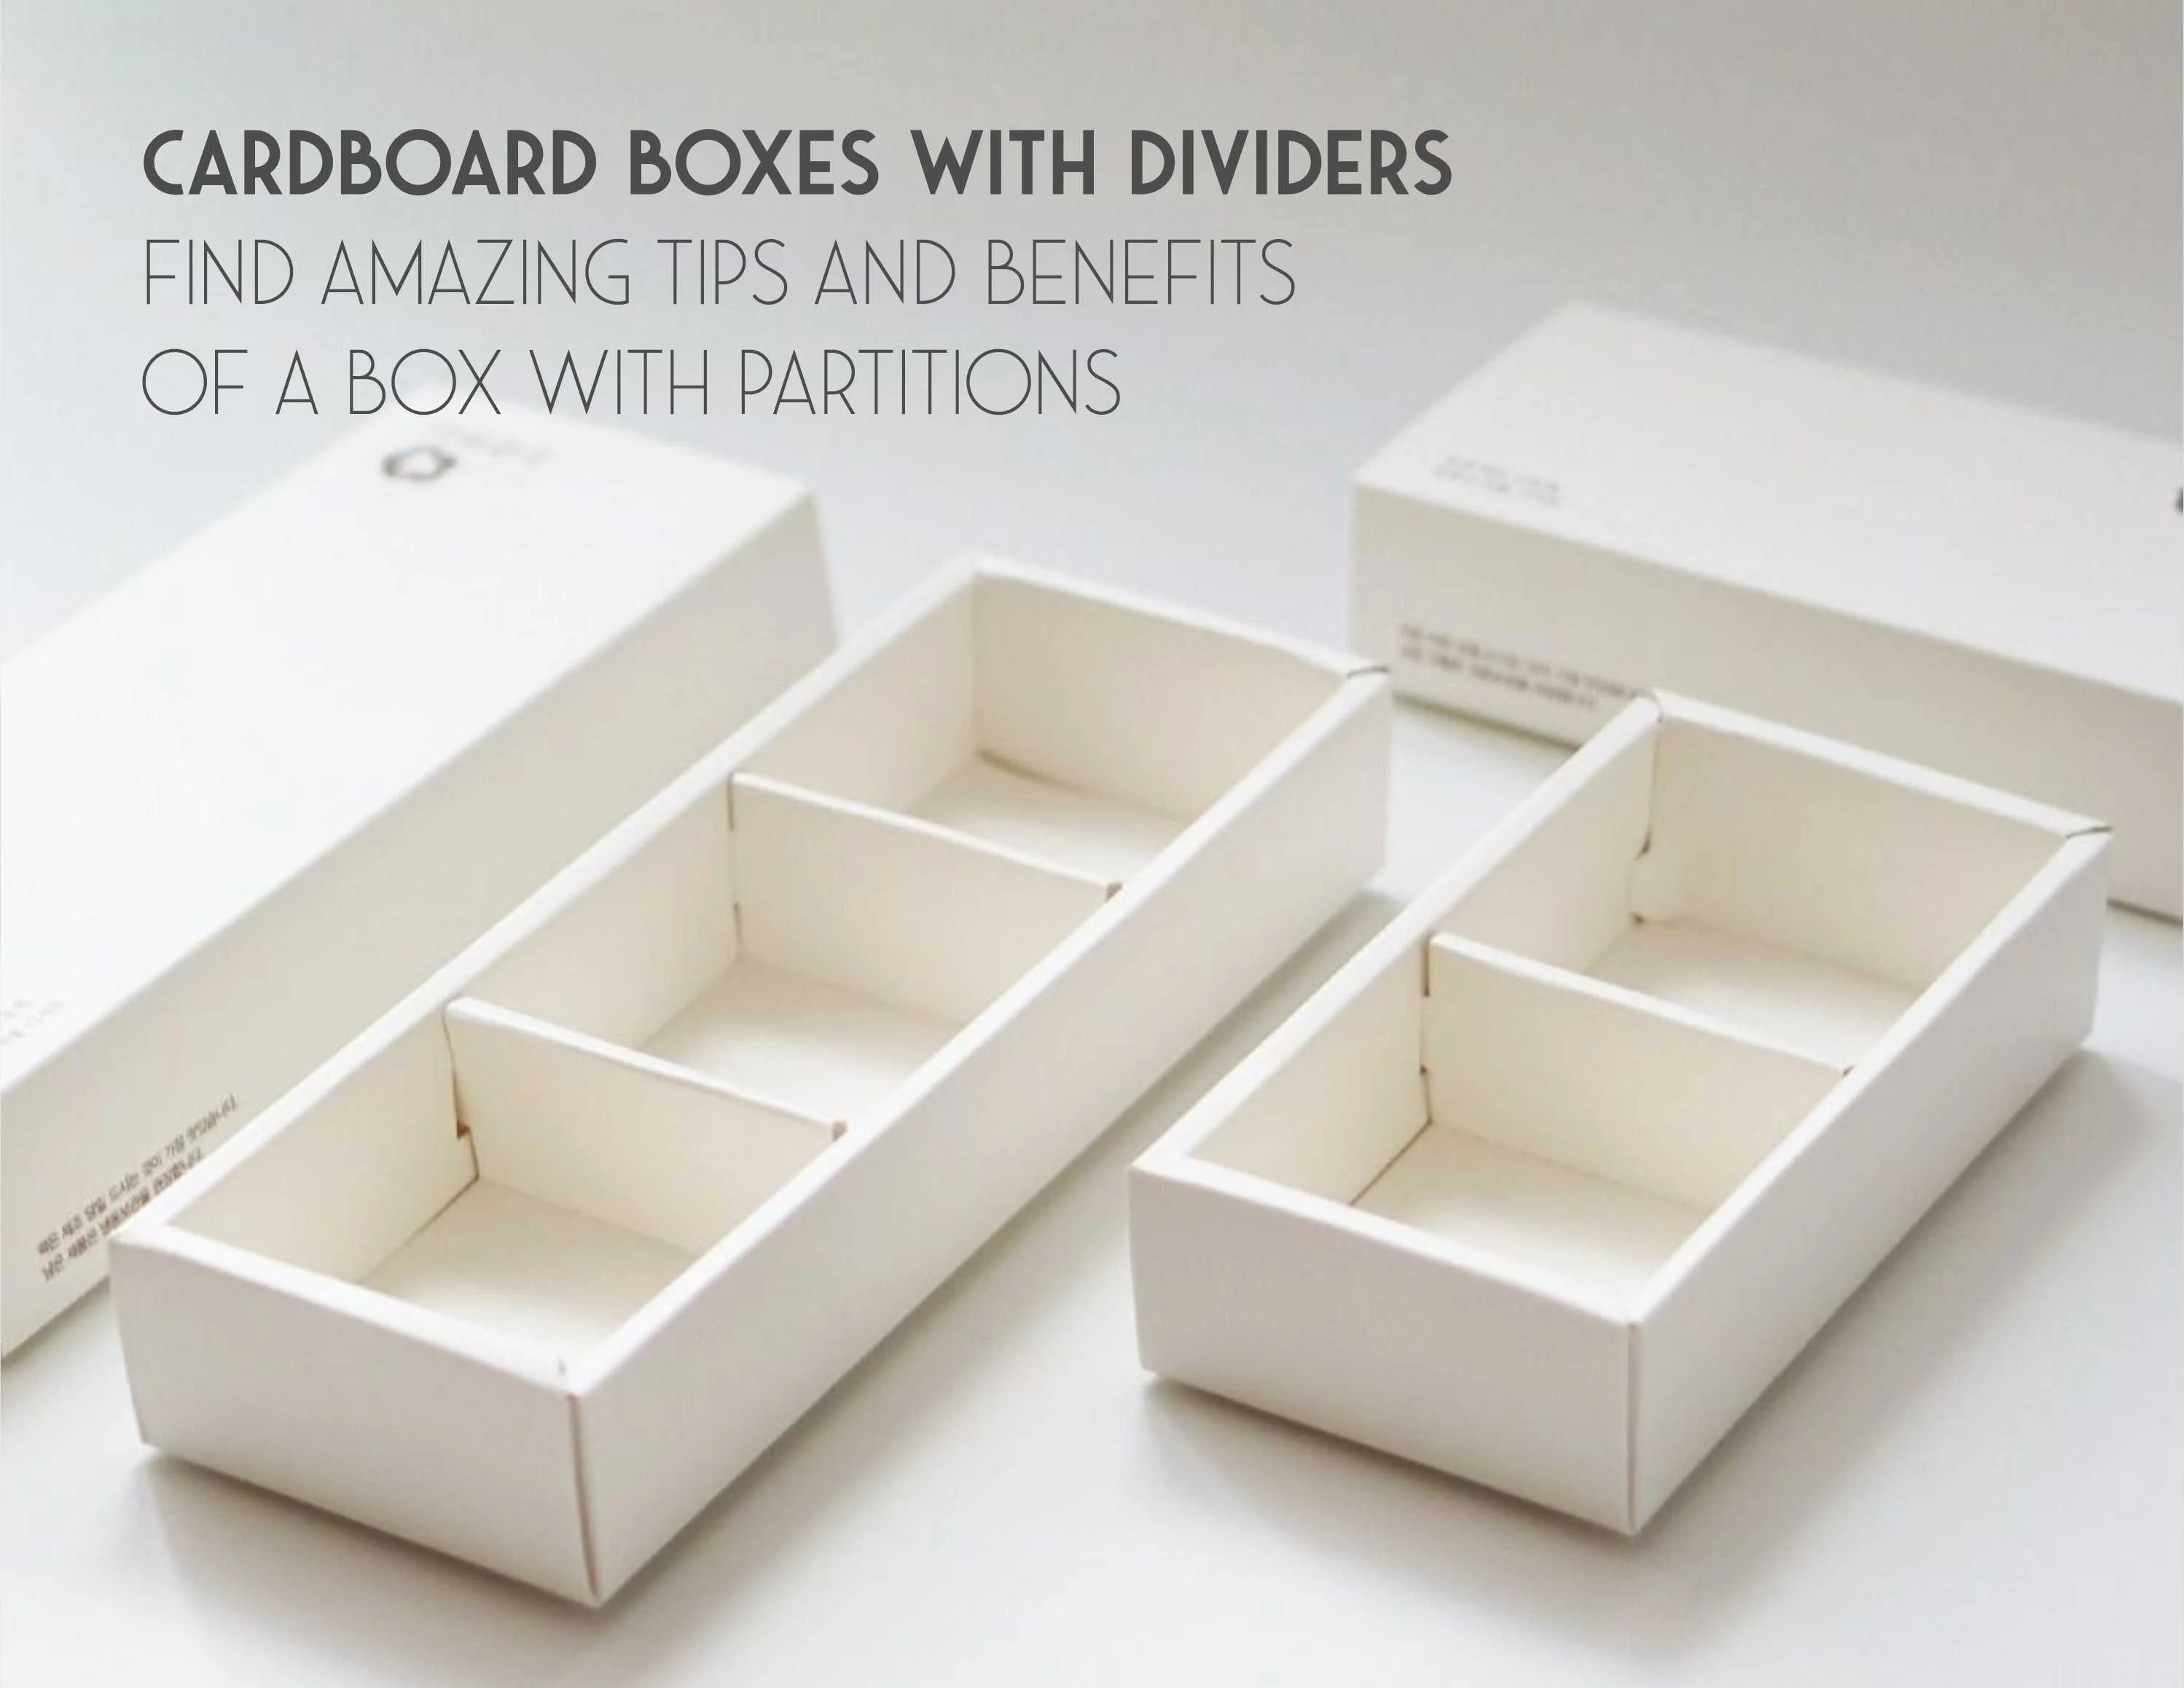
Crate dividers are a fantastic way to organize and maximize the storage space in your boxes and these boxes are suitable for placing more than one product in a box.
Box dividers are a fantastic way to organize and maximize the storage space in your boxes and these boxes are suitable for placing more than one product in the box.
Product-selling brands sometimes sell goods with their by products and sometimes they place more than one product in the boxes. However, if they add the things inside custom boxes together without any tight fitting the chances of loss may escalate. So, turning custom cardboard boxes into a box with dividers is an easy DIY project that's perfect for organizing the inside space of the box.
However, it is quite easy to build such dividers with just a utility knife, ruler, and some tape, you can create custom dividers to keep all your odds and ends neatly sorted. Whether you need separate sections for craft supplies, tools, or toys, crafting your box dividers is a simple solution. Follow these steps to make a box divider that is perfectly sized for your needs.
First of all in order to make your box divider for your custom boxes you’ll need a few basic supplies.
In order to make the box dividers you need to gather the basic material which is discussed in detail in the further article.
You won't waste any time getting started on creating a unique divider for your box once you have these necessary materials on hand. Making clean cuts with a sharp blade, taking precise measurements. Giving the adhesive enough time to dry fully is the key to success. If you decide to paint your divider, make sure to thoroughly seal it to prevent color from leaking into the box.
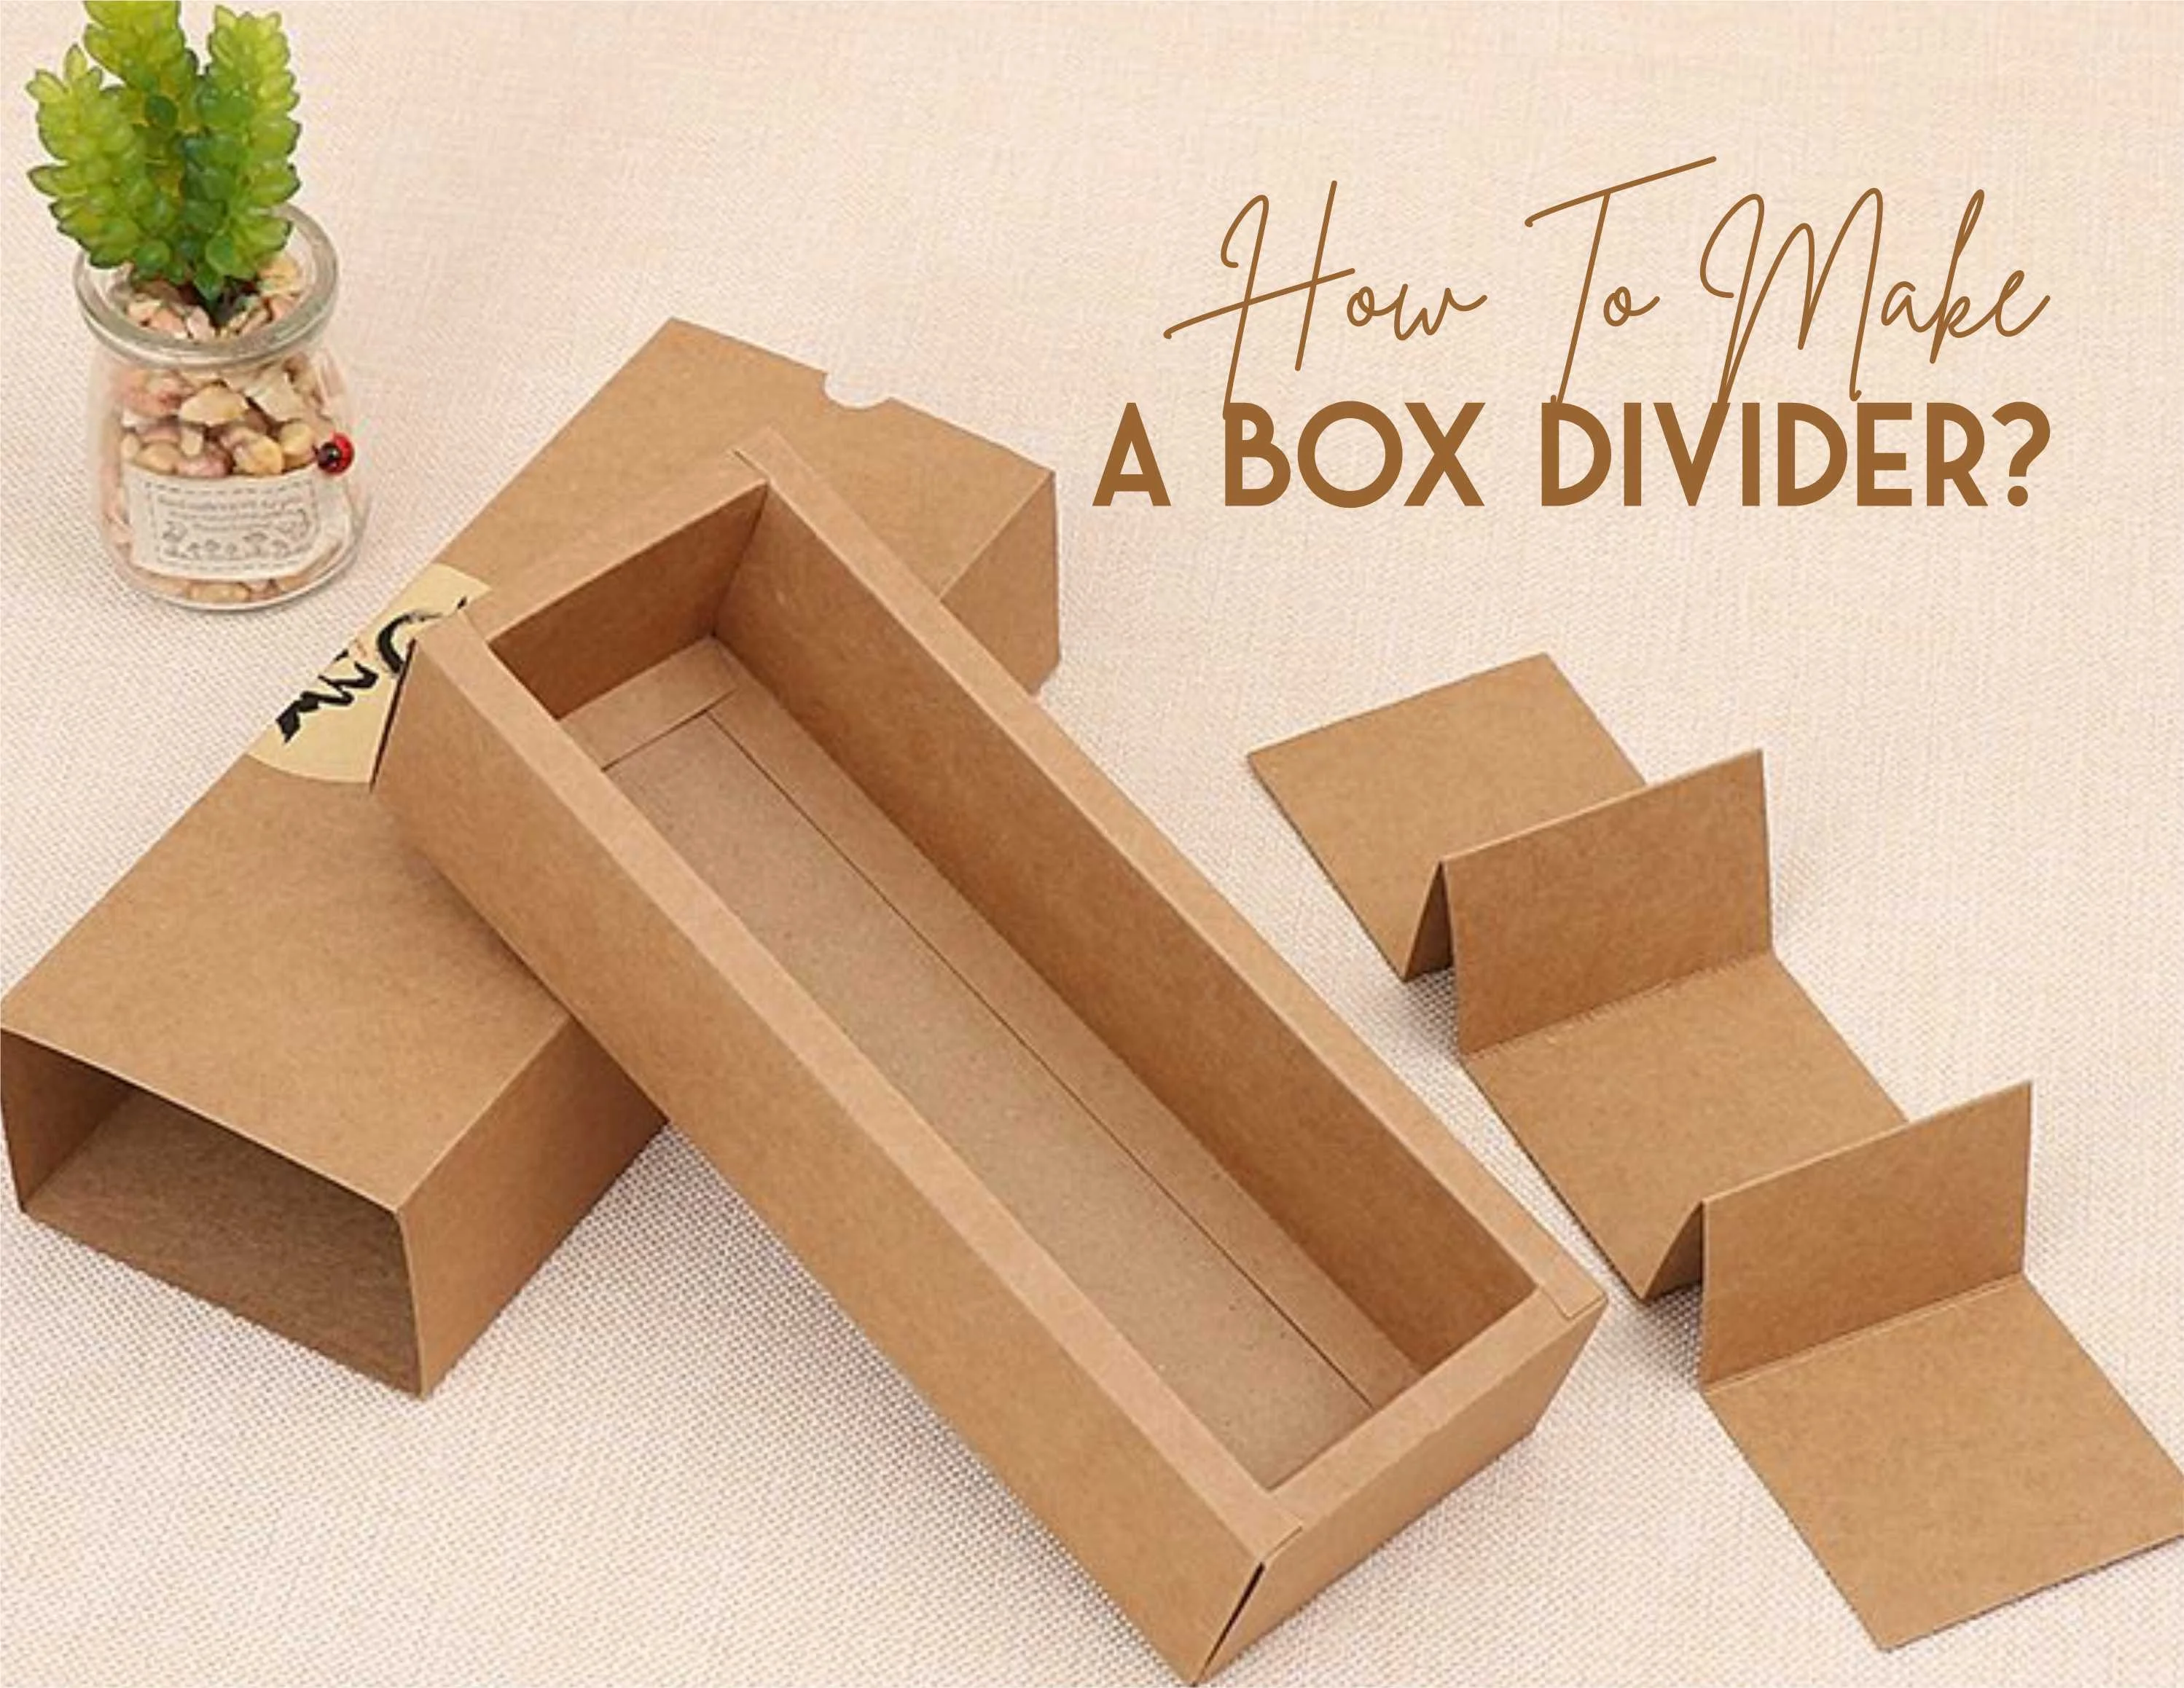
You must measure and cut cardboard pieces of the appropriate size to create the custom box divider.
Decide how many parts you want in your box before anything else. It can be sufficient to just divide it in half, or you might need to divide it into four parts. It depends on what you intend to store there.
Next, determine the sizes of the cardboard you'll need by measuring the interior of the box. Measure the object's length, breadth, and height using a ruler or tape measure. Note the dimensions for each section.
Then, grab some cardboard—corrugated cardboard works well and you can find it at most hardware stores. The cardboard should be measured, marked, and cut to the required sizes. You'll want to make the divider pieces about 1/2 inch smaller than the measurements you took so they'll fit snugly into the box without being too tight.
Use a utility knife, box cutter, or scissors to carefully cut the cardboard two piece box to size. Take your time and be precise—it's better to cut once.
Finally, slide the cardboard pieces into your box to create the divided sections. You may need to trim a bit here and there to get the right fit. Once the pieces are in place and you're satisfied with how they divide up your box, you are required to use hot glue, double-sided tape, or staple them for extra stability.
Dividing up boxes is an easy organizing project that can make storage space so much more useful. With the right measurements and a few simple cuts, you'll have a custom box divider in no time.
To assemble the box divider here are a few amazing instructions that help you go in the right direction.
Your box divider is now complete and ready to organize your space. Just place it inside the box and enjoy your newly organized products. In this way, custom boxes with dividers would be the packaging option for the brands.
You now have a handy box divider to keep all your odds and ends neat and organized. Making your own means you can customize the size to perfectly fit whatever storage box or display box you need to tidy up. Get creative with different fabrics, ribbons, or stencils to make them match your brand and product packaging needs. So, if you want to arrange your products in a box these dividers are quite helpful.
Get a custom quote in minutes — our team responds within 24 hours.